Print
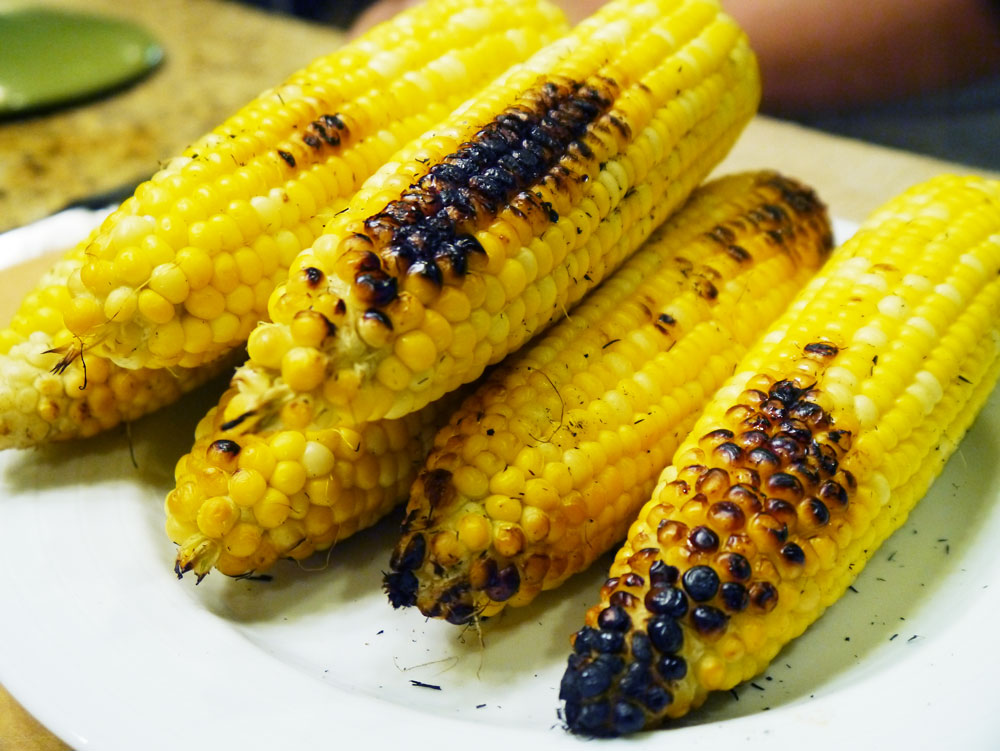
How to Make the Best Grilled Corn Ever
Ingredients
- As much fresh corn as you can eat
Instructions
Step 1
-
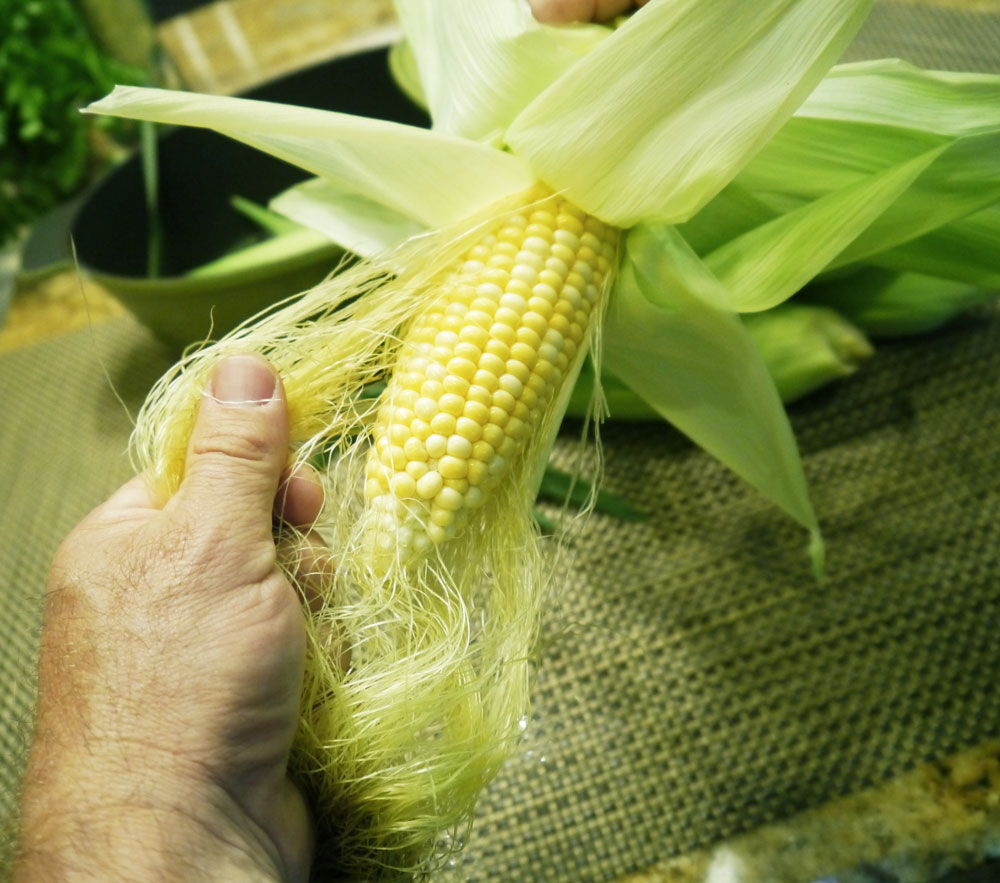
Start by removing the dry and lose outer leaves on the husk. Then carefully peal back the inner leaves to reveal the corn silk. Remove the silk and then fold the leaves back into place over the ear.
-
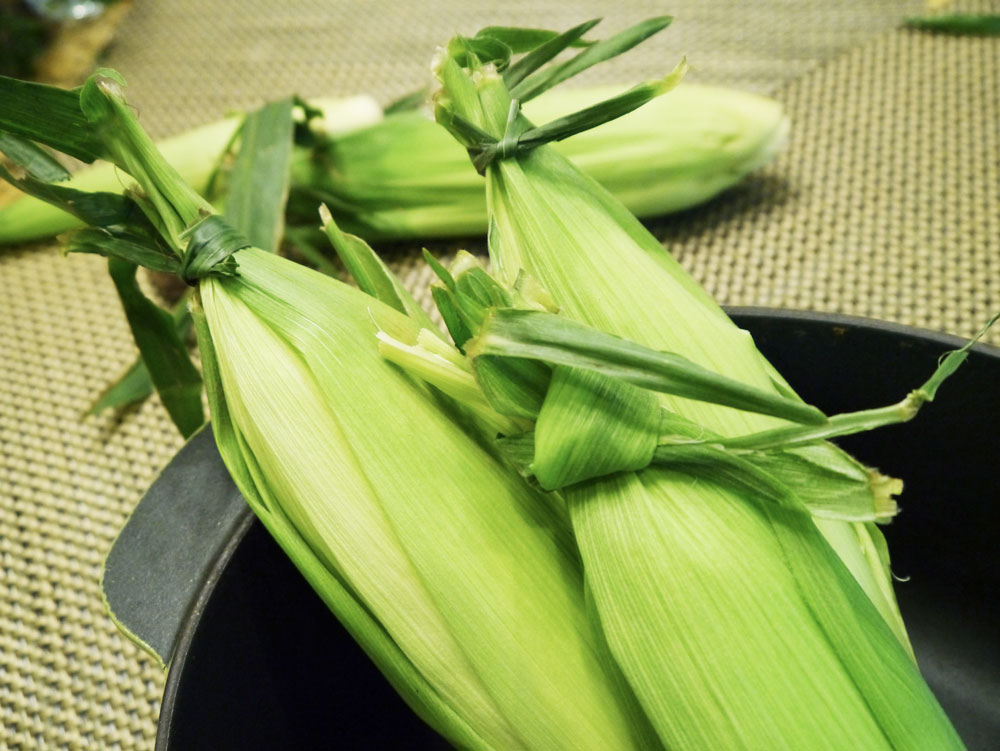
Be gentle so that you don’t loosen the leaves from the stem. Use a discarded leaf to tie the top of the corn shut.
Step 2
-
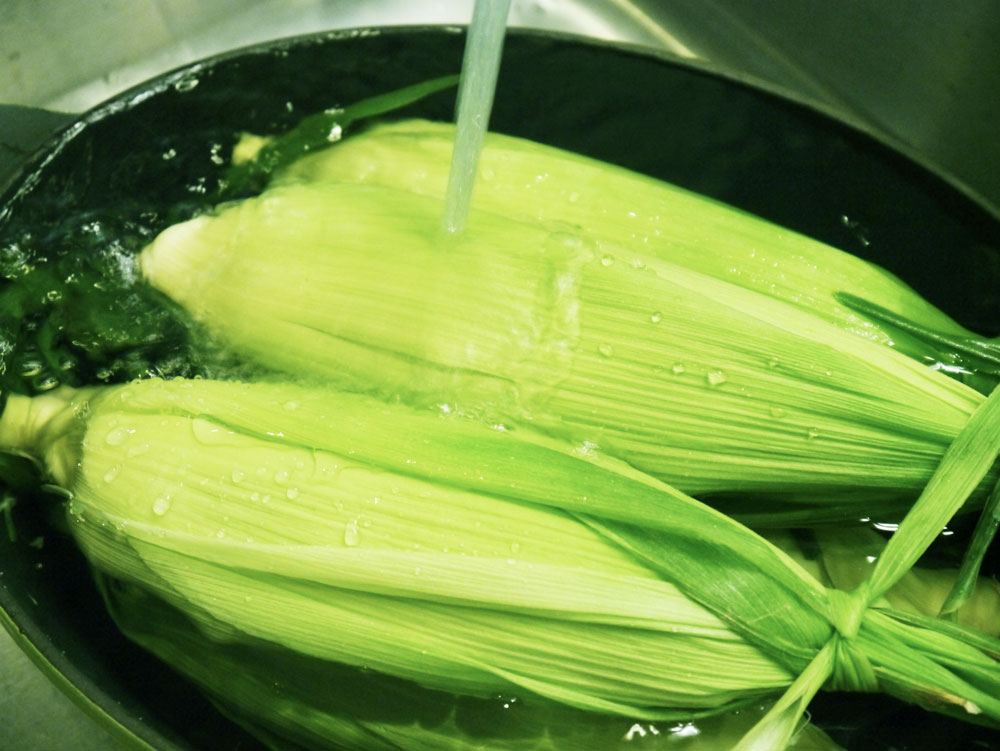
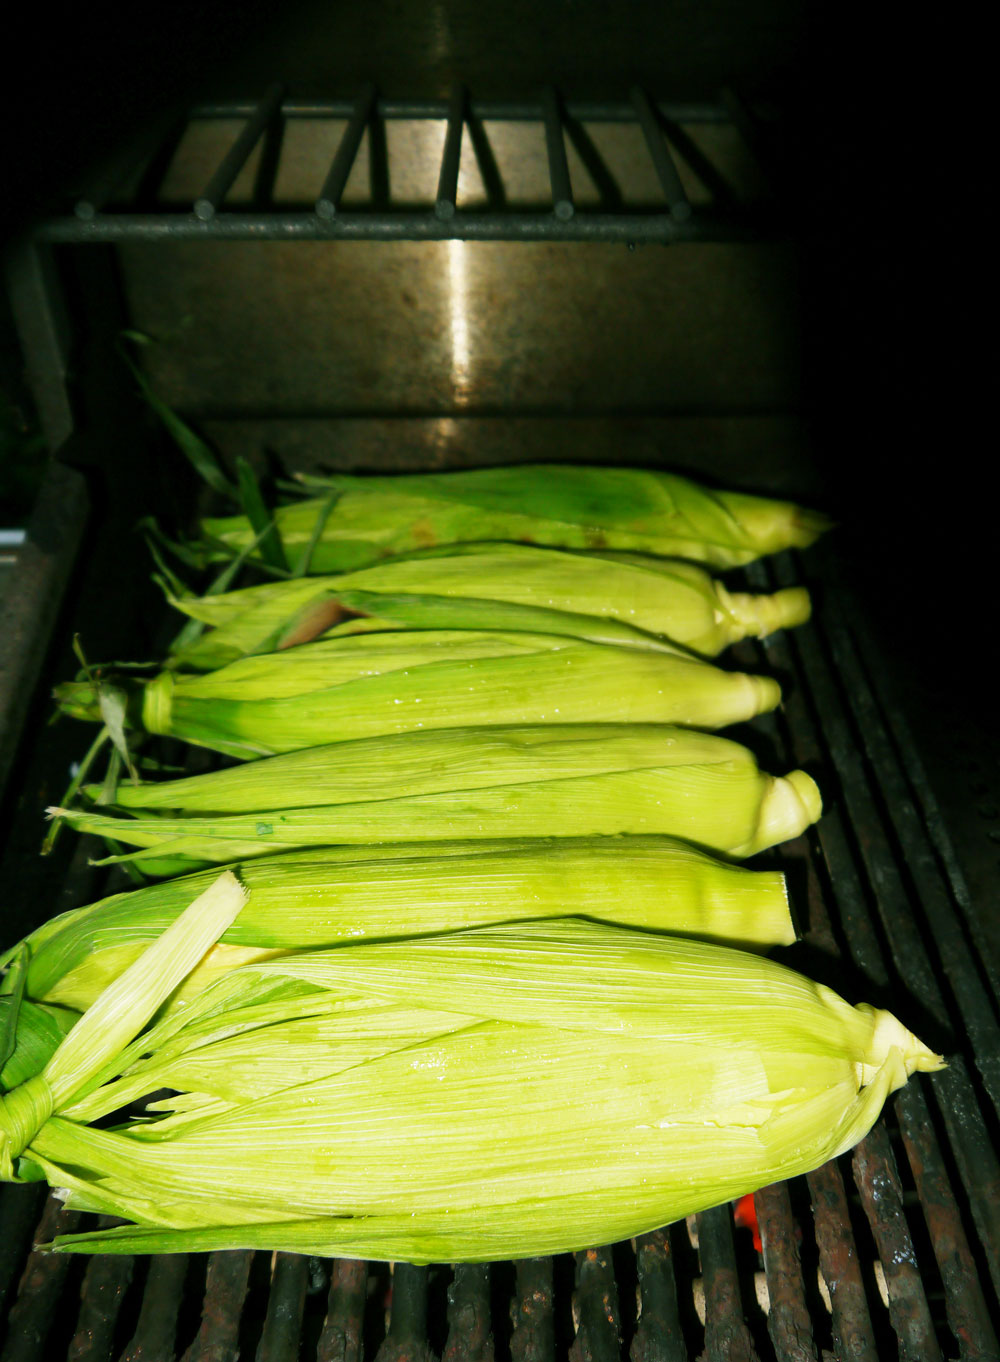
Put the ears into a large pot and cover them with cold water. I use a heavy pot lid to keep the ears from floating to the top of the pot. Let the corn soak for at least 30 minutes or an hour. Heat your grill nice and hot on medium-high or high before you think about putting the corn on it.
Step 3
-
Remove the corn from the pot and shake the excess water off. Arrange the corn on the grill over the direct heat. Let it cook, with lid closed, for about ten minutes or until the bottom of the ear has begun to show grill marks, then turn the corn.
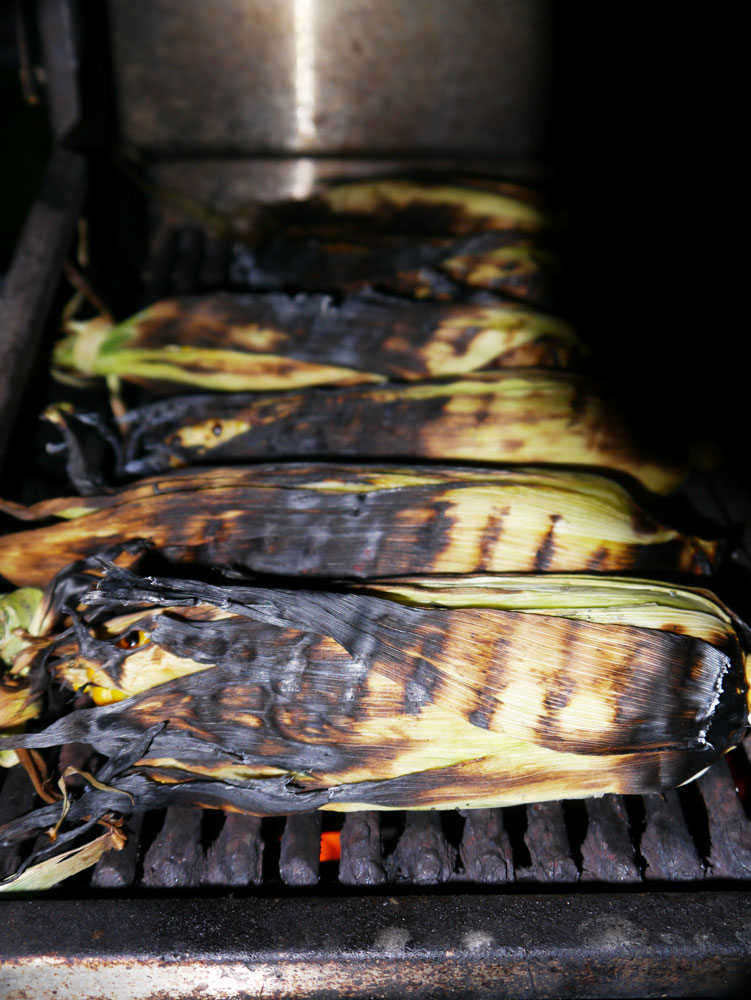
-
Allow the other side to char for about 5-10 minutes more. Next flip the ears so that any raw spots on the husk are down on the grill grate give them another few minutes. You will know the corn is cooked when the husk is well charred and the ends are starting to catch fire. My husband says he can hear the kernels start to pop, but I am not sure I believe him.
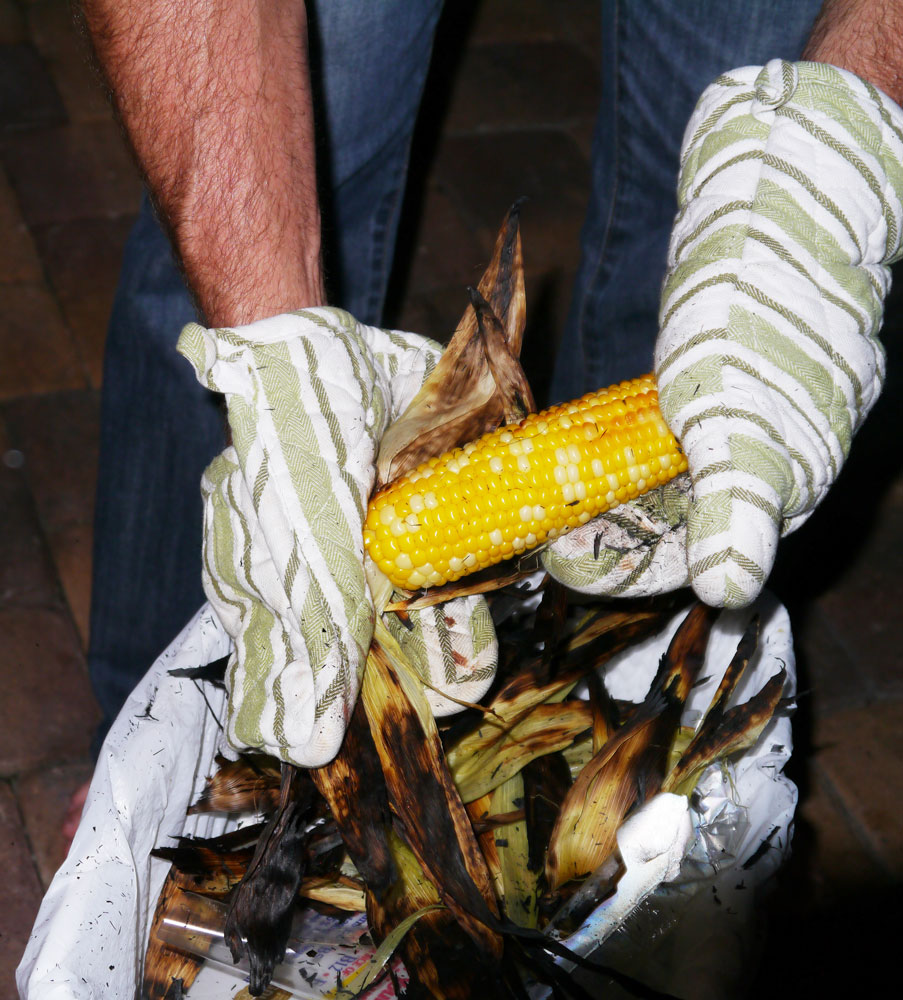
Step 4
-
If you aren’t ready to serve the corn and want to keep it warm feel free to move it to the cool side of your grill. Otherwise if you are ready to eat it’s time to shuck some hot corn, so be careful. I give my husband a pair of old potholders and a big garbage can so he can shuck the corn outside. The burned corn husks are pretty messy so you may not want to let them in the house.
-
Serve it with you favorite BBQ dinner, and make extra corn you will be amazed at how much of this corn a table of hungry people can eat.